
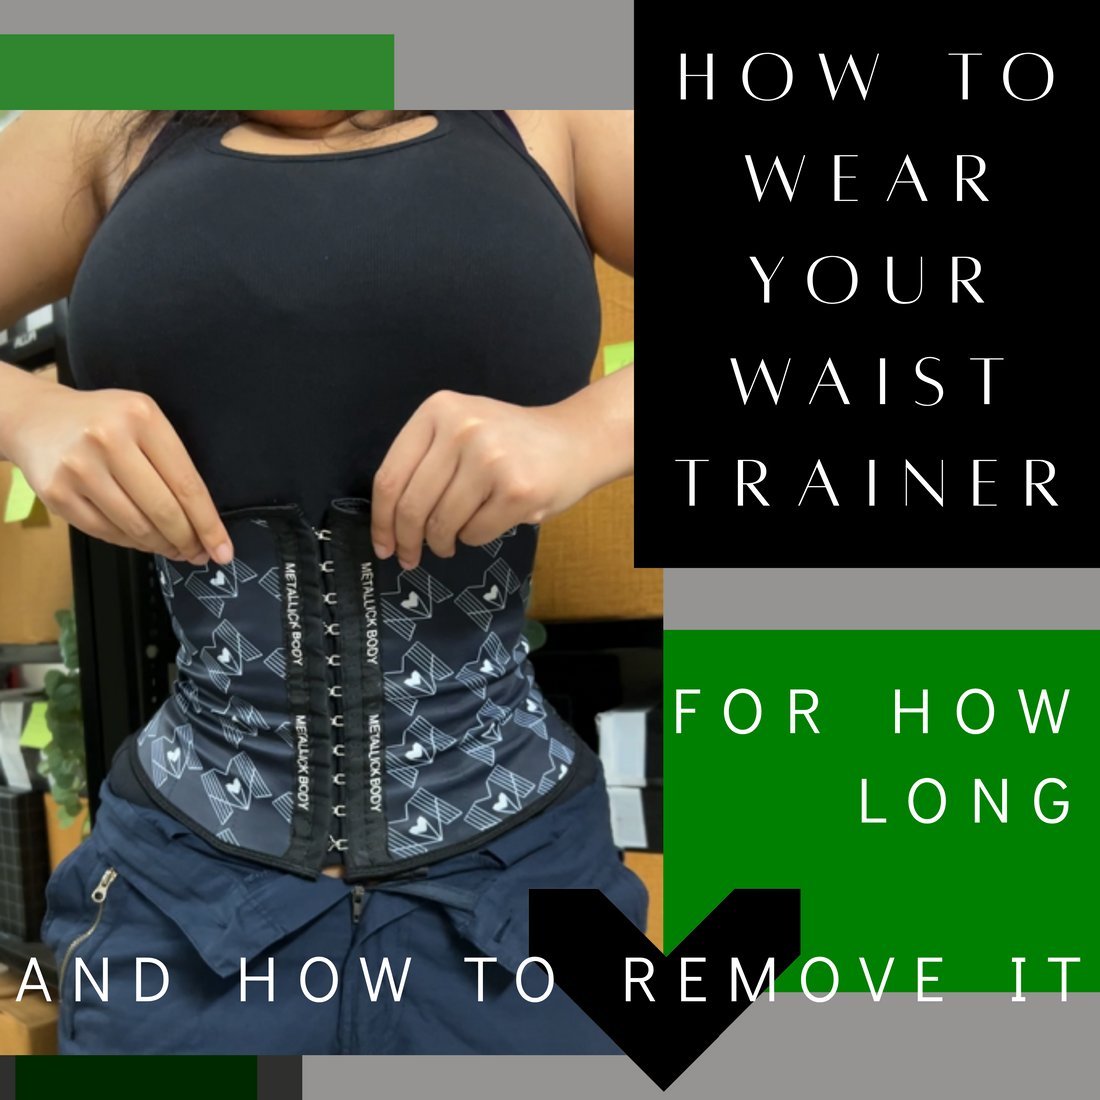
How to Wear Your Waist Trainer, How Long to Wear It for Maximum Results & How to Remove It
Wearing a Metallick Body waist trainer is more than a daily ritual, it’s a lifestyle of self-sculpting. To unlock its full potential, the key lies in wearing it the right way and for the right duration. Here’s how to do it like a pro.
✦ How to Wear Your Waist Trainer: A Step-by-Step Guide
Step 0: Stand in front of a Mirror
Step 1: Layer for Comfort
Wear a thin layer of fabric, like a light tank top or spaghetti top underneath your waist trainer.
- This provides a soft barrier between your skin and the trainer.
- While wearing the trainer, it prevents the hooks from pinching or digging in your skin.
- It helps absorb sweat to keep your trainer fresh and hygienic.
- It prevents any friction or chafing, especially during long wear.
Step 2: Position the Waist Trainer
Wrap the waist trainer around your waist, aligning it with the narrowest part of your torso.
- The narrowest part is usually 1–2 inches above your belly button (your waistline).
- Ensure the trainer sits straight and even across your waist, no twisting or slanting.
- The vertical logo bands should sit upright and centered.
Step 3: Begin Fastening from the Bottom Hook
Take a deep breath, suck in your stomach gently, and secure the bottom hook first at the narrowest part of your waist.
- This helps you anchor the trainer and prevents it from riding up.
- It also ensures a smooth line as you fasten rest of the hooks.

Step 4: Adjust the Trainer as You Fasten
Gently pull the trainer downward to cover your lower waist as you continue fastening.
- This prevents any bunching or rolling at the waist.
- It ensures a sleek, sculpted fit from top to bottom.

Continue fastening the remaining hooks from the top down.
- Fastening from the top down helps create a balanced tension across the trainer.
- It allows the trainer to mold to your body’s natural shape.

Step 5: If Hooks Feel Tight, Adjust Your Grip
Use your palms instead of your fingers to fasten the hooks.
- Your palms provide more control and leverage, reducing strain on your fingers.
- This technique also helps you fasten evenly without pulling or forcing the hooks.
Step 6: Use the Extender for a Tailored Fit
If the waist trainer feels too snug, use the complimentary extender that comes with it included with your order.
- The extender adds extra inches for a customized, comfortable fit.
- It’s perfect for first-time users, postpartum bodies, or those in-between sizes.
Step 7: The Two-Finger Fit Test
Once all hooks are fastened, check the fit by slipping two fingers inside the top of the trainer.
- If you can’t fit two fingers, the trainer may be too tight. Loosen it by one row of hooks.
- If you can easily fit all your fingers, it may be too loose. Tighten by one row if possible.
- This test ensures firm compression without discomfort.

Step 8: Feel the Compression? It’s Normal
A firm, hugging sensation is expected. It means the trainer is doing its job.
- Compression helps activate your core, improve posture, and sculpt your waistline.
- You should feel supported but never restricted. If you feel pain, loosen the trainer immediately.
Step 9: Your Body Will Adapt
Within 3-4 weeks of consistent wear, your body will adapt to the waist trainer.
- It will start to feel like a second skin, enhancing your natural shape.
- This is when you can tighten the trainer by one row of hooks to continue refining your silhouette.
Step 10: Final Check
- Move around. Sit, stand, bend- your trainer should feel snug but not suffocating.
- If it feels too tight, consider using an extender or sizing up.
✦ How Long Should You Wear Your Waist Trainer?
Consistency is key, but more is not always better.

Week 1-2:
Start with 1-2 hours a day. Let your body adjust to the gentle compression.
Week 3-4:
Gradually increase to 3-5 hours per day. You’ll start to feel the subtle shift in your silhouette.
After 4-6 Weeks:
Build up to 6-8 hours a day for maximum sculpting. Pair this with a balanced lifestyle, hydration, clean eating, and light workouts.
✦ Your Body, Your Pace
Every body is different. Some days you might wear your trainer longer, some days less, listen to your body. If you experience discomfort, bloating, or skin irritation, take a break, adjust your size, or reduce the hours.
♥︎ Remember: It’s a journey, not a race. Your Metallick Body waist trainer is your partner in this transformation, wear it with confidence, patience, and style.
✦ How to Remove Your Waist Trainer: The Gentle Way
Removing your waist trainer is as important as wearing it. Here’s how to do it safely and smoothly:
-
Unfasten the hooks from the top down, one by one.
- Start slowly, giving your body a moment to relax and release the compression.
- Avoid rushing, and let your body adjust as you unfasten the hooks.
- If you find it difficult to unhook, follow this technique:
- Take a deep breath to release tension in your core.
- Suck in your stomach slightly to ease the pressure on the hooks.
-
Use your palms (not just fingers) for better grip and leverage. This gives you more control and helps prevent tugging or damaging the fabric.
- After removing, take a few deep breaths and stretch lightly to allow your body to fully relax.
✦ Need a Demo?
Want to see exactly how it’s done? Follow us on Instagram for video tutorials, real results, and styling tips.
✦ Final Note
Your Metallick Body waist trainer is designed to hug you firmly, never painfully. Trust the process, wear it with care, and let it become your secret weapon for a sculpted, confident silhouette.
NOTE: Do Not Wear While Sleeping
Avoid wearing your waist trainer to bed.
- Your body needs time to rest and recover without compression.
- Sleep posture can also shift, potentially causing discomfort or improper fit.
Have more questions? Explore our FAQs page for all the answers.